1 Remote Access using WSL2
With addition of WSL2 (Windows Subsystem for Linux), it is possible to run remote Linux applications directly in Windows.
Thanks a lot to Dion Beqiri for documenting this approach.
- Prerequisities:
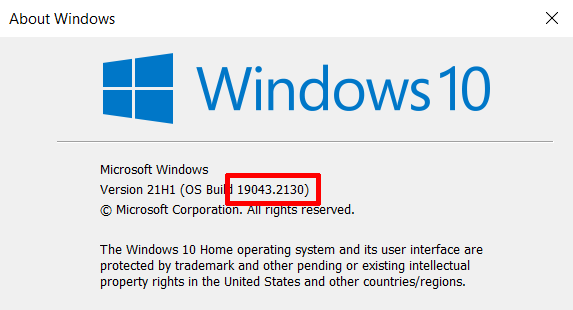
- Windows 10 (build 19041 or higher), Windows 11
- CPU with enabled Virtualization support.
1.1 Installing WSL2 onto your computer
1.1.1 Enable the WSL and Virtual Machine Platform
At first you have to enable the two optional Windows features. To do so, open up the Start menu and look for Turn Windows features on or off:

Open the application and enable Virtual Machine Platform and Windows Subsystem for Linux in the list:
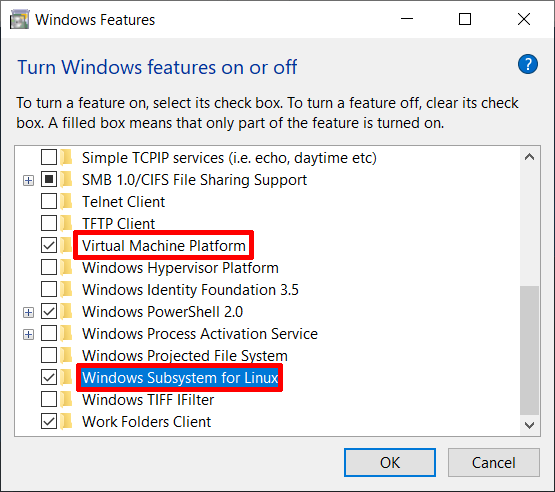
Confirm the selection by pressing OK. The process takes several minutes, after which you are requested to reboot the computer.
1.1.2 Download the Linux kernel update package
When using Windows 10 it might be required to download Linux kernel update package.
WSL2 Linux kernel update package for x64 machines
Download and run this update package.
1.1.3 Enable WSL2
Open up elevated Command Prompt and run following command:
wsl --set-default-version 2
This should return This operation completed successfully. If the command fails, a link to Microsoft webpages is shown, where you can find out where is the problem and how to solve it.
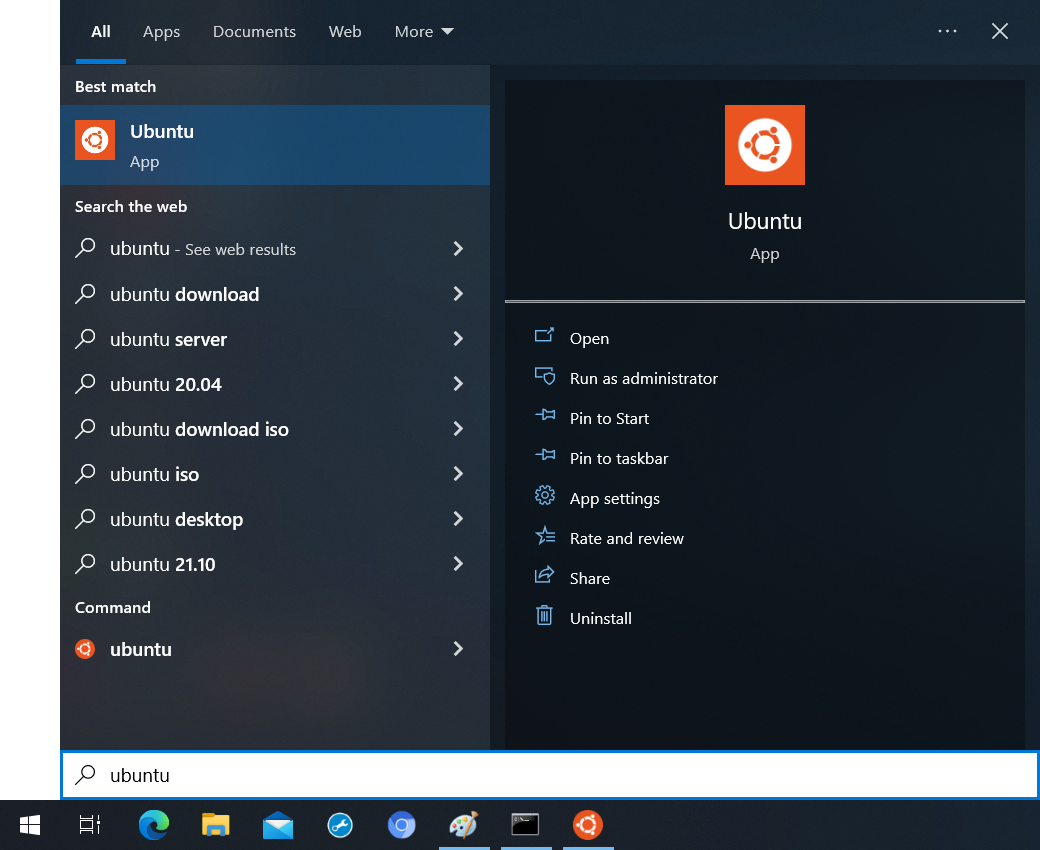
1.1.4 Install Ubuntu distribution
Finally, we can install a Linux distribution inside the WSL2.
Note: You can select any other distrubution, but only Ubuntu was tested.
As an administrator, run following command:
wsl --install -d Ubuntu
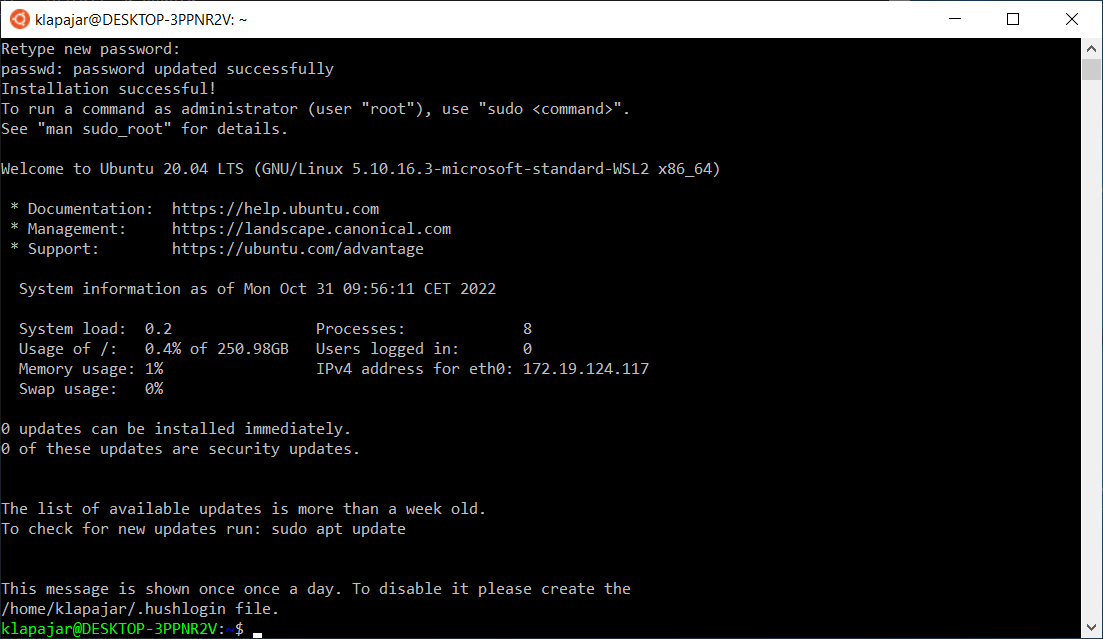
Whole process takes several minutes, as your WSL2 downloads the Ubuntu system image. When completed, a new window opens up requesting a username and password for your new subsystem:

As the installation finishes, a welcome screen of Ubuntu is shown:
1.2 Checking the WSLg
Previously, we have used GWSL to display graphical applications in Windows. Since then, Microsoft introduced their own version called WSLg.
You can check that the WSLg is available to you by running following command:
wsl --version
One of the lines should show the version of WSLg. In case that this is missing (e.g., your WSL2 was configured earlier) your WSL2 is not fully updated. Run this to update:
wsl --update
1.4 Running WindRiver workbench
To run the Workbench on your computer using WSL2 and WSLg, please follow the instructions for Powering on (and connecting to) the lab computer.
When connected to the lab computer, start the workbench using the following command:
$ /opt/WindRiver/workbench-4/startWorkbench.sh
Note
Upon starting the Workbench the terminal may look like this:
$ /opt/WindRiver/workbench-4/startWorkbench.sh
Unsupported host type for this Workbench officially: debian
Workbench console output redirects to file '/tmp/workbench_stderr_68819.log'.
$
Even though it looks like that starting the Workbench was unsuccessful, it is executed on the background and it may take a while until it shows on your screen.
1.5 Troubleshooting and hints
1.5.1 Find out Windows build version
To find out your Windows build version, press Win + R and run winver.
1.5.2 Check that Virtualization is enabled
There are various ways to find this out. For example, open up the Task Manager (Ctrl + Shift + Escape) and navigate yourself into the Performance tab.
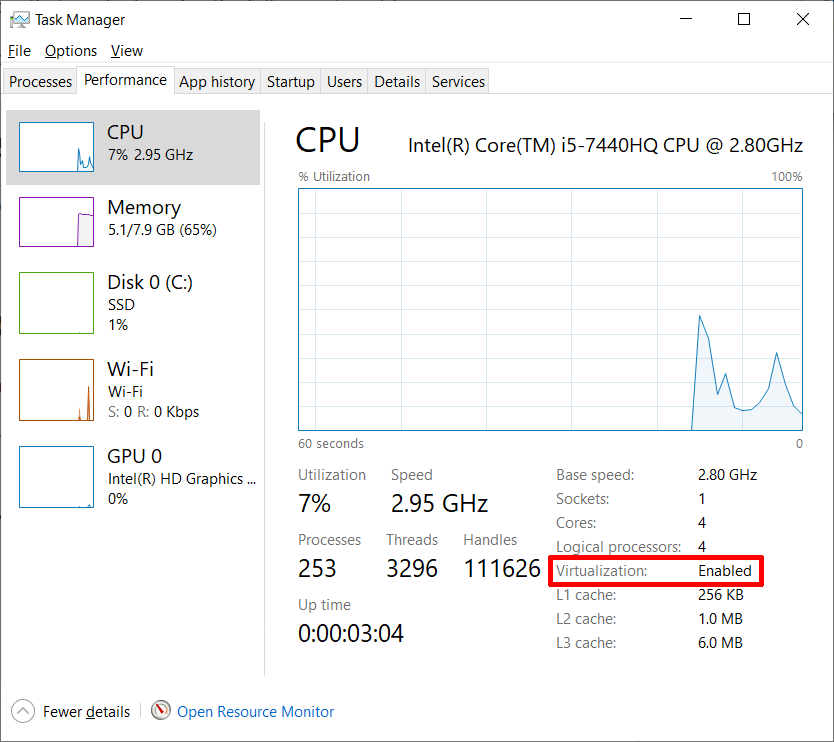
In case that the Virtualization is disabled, check the manual for your CPU / computer to find out how to enable it.
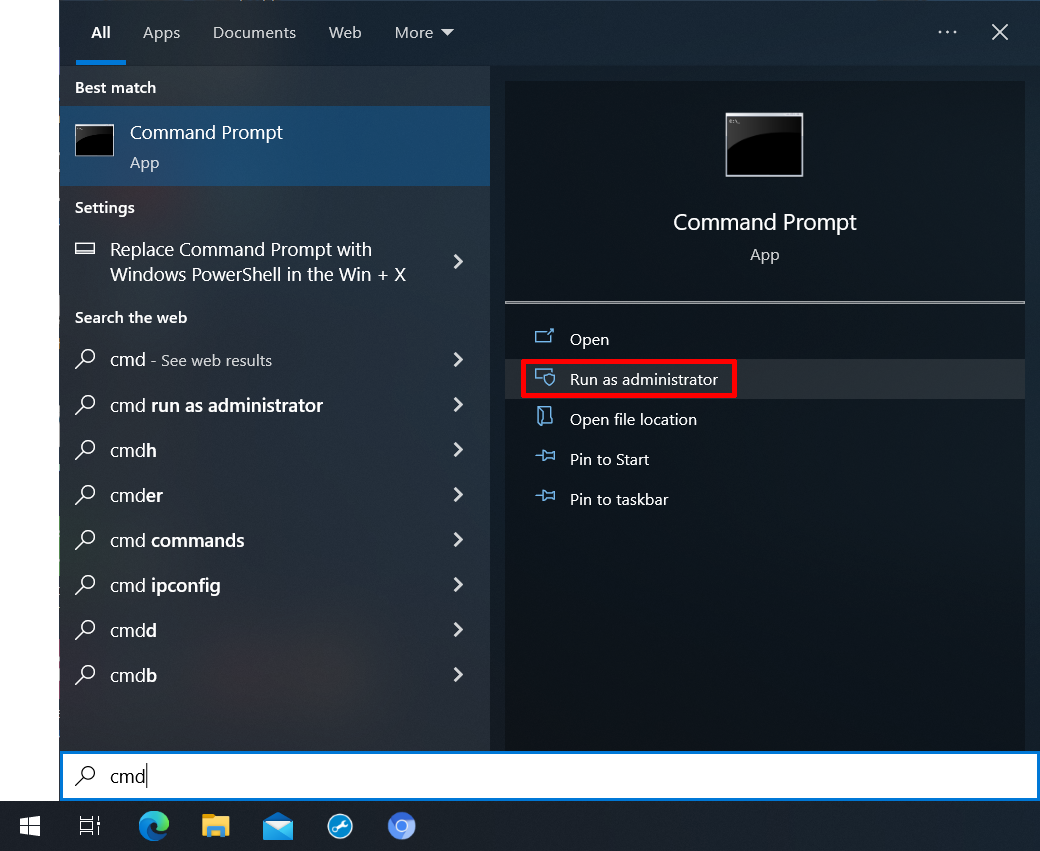
1.5.3 Run Command Prompt as an Administrator
WSL configration requires Command Prompt (cmd) to be run as administrator. To do so, select Run as administrator from Start menu as shown here: