Remote development in the lab
First, a word of warning: Connecting to the lab remotely is not for the faint of heart. If you know all the individual parts (SSH keys, jump hosts, general terminal usage, CMake, IDE setup), the guide should be hopefully pretty easy to follow. If not, good luck, you're gonna learn something new.
Set up a SSH connection to the lab
The VxWorks SDK is available both on the lab computers and a dedicated server at 192.168.223.223, neither of which is accessible from the internet. Luckily, the postel.felk.cvut.cz server is, and it can access the internal network. To connect to the lab, we'll need to use postel.felk.cvut.cz as a SSH jump host. In my opinion, the simplest way is to add the following snippet to your SSH config (~/.ssh/config), replacing <fee_username> with your username:
Host fel_postel postel.felk.cvut.cz
    HostName postel.felk.cvut.cz
    User <fee_username>
    LogLevel QUIET
    RequestTTY yes

# dedicated server with the same system image as the lab computers
Host fel_postel_lab
    HostName 192.168.223.223

Host fel_postel_lab DCES023P*
    User <fee_username>
    # ProxyJump does not work with CLion remoting, ProxyCommand does:
    # https://youtrack.jetbrains.com/issue/IJPL-63089/ProxyJump-not-supported
    #ProxyJump fel_postel
    ProxyCommand ssh -W %h:%p fel_postel
    RequestTTY yes
With this configuration, you should be able to connect to the lab server using ssh fel_postel_lab. In case you need to connect to a specific computer in the lab (shouldn't be necessary), the computers are available with hostnames of the form DCES023P** where ** is a 2-digit number from 00 to 20.
When connecting for the first time after postel.felk.cvut.cz is rebooted, you must enter your CTU password. For subsequent logins, your SSH key should work, if you have it configured (which I would highly recommend, especially when connecting from an IDE).
Run Wind River Workbench remotely
This step is optional, you can get by using remote development, but the setup below is a bit wonky, so you may sometimes need to fix something from the Workbench GUI. For that, I use X11 forwarding over SSH – it's very slow, but usable enough on fast connection to get basic setup tasks done.
On Linux, it should be enough to add -Y -C flags to ssh (e.g. ssh -Y -C DCES023P01) and run /opt/WindRiver/workbench-4/startWorkbench.sh, the same way as in the lab. After a delay, the Workbench window should appear.
On Windows, the simplest option is to run SSH from WSL2, which has a built-in X11 server, so everything should work the same as on native Linux. For a more adventurous option, it is possible to use SSH from Windows and just tunnel the X11 connection through socat running inside WSL2. I use the following PowerShell function to do that:
function ssh-x11 {
    $j = Start-Job {wsl -- socat 'TCP-LISTEN:6000,fork,bind=127.0.0.1' 'UNIX-CONNECT:/tmp/.X11-unix/X0'}
    try {
        $env:DISPLAY = "127.0.0.1:0.0"
        ssh -Y -C @Args
    } finally {
        $env:DISPLAY = $null
        Stop-Job $j
        Receive-job $j -AutoRemoveJob -Wait -ErrorAction Continue
    }
}
Set up a CMake-based kernel module project
I prefer CMake projects for remote work, since editors understand them better, and they're easier to set up. To submit the assignments, you'll probably need to create a Makefile-based Workbench project from the GUI and copy the sources over, but for development and testing, you should not need Workbench:
Create a project directory wherever you prefer.
Inside the directory, create a
CMakeLists.txtfile and paste the following content:cmake_minimum_required(VERSION 3.17) project(psr C) set(CMAKE_C_STANDARD 99) # create a single kernel module named `dkm.out` add_executable(dkm.out main.c)Create a
main.cfile in the same directory and place your code there. To test the setup, you can use the following hello world program:#include <stdio.h> void start() { printf("Hello VxWorks from a DKM!\n"); }Set up the CMake project and build it:
/opt/psr/build-wrappers/cmake-dkm -S . -B build-dkm
/opt/psr/build-wrappers/cmake-dkm --build build-dkm
The compiled kernel module should be available at
build-dkm/dkm.out. To load it, start the simulator by running/opt/psr/build-wrappers/vxsim-64and inputting the following commands one-by-one:cmd ld <build-dkm/dkm.out C startcmdswitches from the so-calledCmode, which somewhat resembles a C REPL, tocmdmode, which resembles a standard shell. Each mode has a different syntax and different available commands.ldloads its input as a kernel module.C <fn>runs the function called<fn>, which should have been loaded previously byld.
Running
C startshould run the kernel module and print the message. To exit the simulator, pressCtrl-\(Ctrl and backslash).
To simplify typing the commands, you may want to add /opt/psr/build-wrappers to your PATH:
export PATH="/opt/psr/build-wrappers:$PATH"
Set up a CMake-based real-time process project
Create a project directory wherever you prefer.
Inside the directory, create a
CMakeLists.txtfile and paste the following content:cmake_minimum_required(VERSION 3.17) project(psr C) set(CMAKE_C_STANDARD 99) # link libc statically link_libraries("-static") # create a single executable named `rtp.vxe` add_executable(rtp.vxe main.c)Create a
main.cfile in the same directory and place your code there. To test the setup, you can use the following hello world program:#include <stdio.h> int main() { printf("Hello VxWorks from an RTP!\n"); }Set up the CMake project and build it (note that we're using
cmake-rtpnow):/opt/psr/build-wrappers/cmake-rtp -S . -B build-rtp /opt/psr/build-wrappers/cmake-rtp --build build-rtpThe compiled executable should be available at
build-rtp/rtp.vxe. To load it, start the simulator by running/opt/psr/build-wrappers/vxsim-64and inputting the following commands one-by-one:cmd rtp exec build-rtp/rtp.vxeRunning
rtp exec ...should run the executable and print a message. To exit the simulator, pressCtrl-\(that is, Ctrl and backslash). Unlike the alternative option described below,rtp exec ...waits until the process exits before returning to the shell, which allows you to interactively specify input.To run multiple processes in a single simulator, switch to
Cmode by runningCand then usertpSp "program.vxe arg1 arg2", which will launch a new process but won't wait until it finishes. To separate the output of multiple processes, you can redirect the output of a process using standard shell redirection:rtpSp "program.vxe arg1 arg2" >out.txt. TODO: how to pass input?
Remote development using a local IDE (CLion / VS Code)
If you've done the SSH setup correctly, including setting up SSH keys, this shouldn't be too hard.
CLion
- Open CLion locally.
- Go to Settings → Build, Execution, Deployment → Toolchains. Add a
Remote Hosttoolchain:- In
Credentials, add a SSH configuration for your selected lab computer (Host: …, Username: …, Authentication type: OpenSSH config and authorization agent). - In
CMake, specify path to the correct CMake wrapper based on the project type (cmake-dkm/cmake-rtp, both are in/opt/psr/build-wrappers). - Leave the rest at default values and confirm.
- In
- Go to Settings → Build, Execution, Deployment → CMake. Add a CMake profile:
- Set
Toolchainto the toolchain created in the previous step. - Leave the rest at default values and confirm.
- Set
- After the CMake configuration finishes, you should have a working IntelliSense and should be able to build the project from the IDE. To run the project, it's probably the easiest to open a terminal window and run
vxsim-64manually, but feel free to play with Run Configurations if you're so inclined.
VS Code
TODO: The basic workflow should be pretty similar, but not sure how to set CMake path, don't really use VS Code much.
Configuration snippets from a student:
.vscode/cmake-kits.json:
[
    {
        "name": "Kernel module project",
        "toolchainFile": "/opt/psr/build-wrappers/dkm.toolchain.cmake"
    },
    {
        "name": "Real-time process project",
        "toolchainFile": "/opt/psr/build-wrappers/rtp.toolchain.cmake"
    }
]
.vscode/settings.json:
{
    "cmake.cmakePath": "/opt/psr/build-wrappers/cmake-rtp"
}
Don't forget to select the CMake kit using the menu at the bottom status bar or using the CMake: Select a Kit menu action.
TODO: Running on the MZ APO board remotely
Probably not really possible, since we'd need to leave the boards attached to lab computers.
Also, I did not yet try to explore how to use the VxWorks tools to connect to a board remotely, I'd guess most of the setup can be done over the serial line, but for pulling binaries from the host, the board will probably try to use the LAN connection. If you figure something out, ideally with a working example, I'll be happy to add it here.
BONUS: Use the VS Code VxWorks extension
This approach did not work for me, but I don't really know VS Code that well, so you may be more successful.
If you set up your local VS Code to connect through SSH to a lab computer and open the extension list, you should see an extension called VxWorks SDK Support:
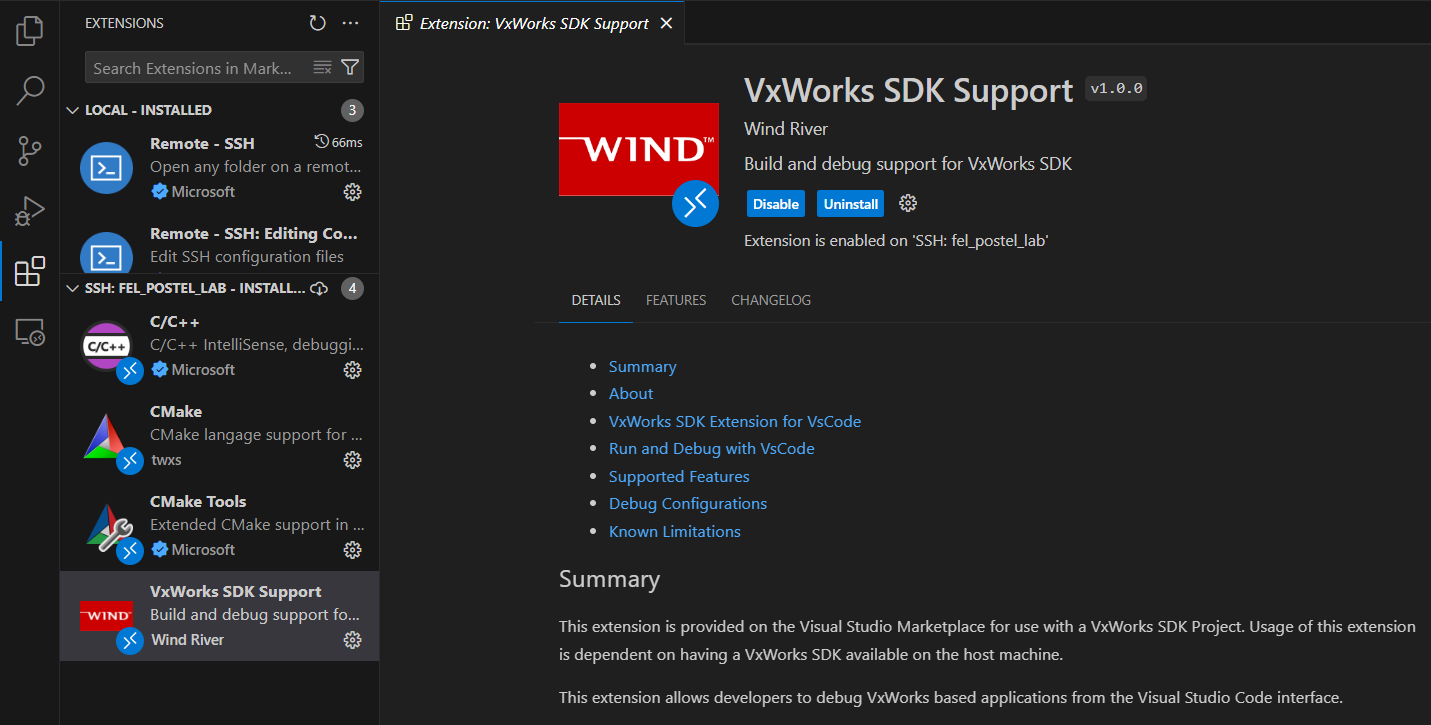
Follow the guide in the extension description and if it works for you, you should have a working integration with the VxWorks SDK for creating Workbench projects and building/running them.
